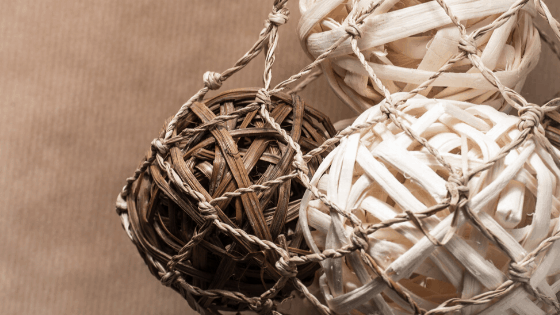
How to make Decorative Balls That’s Super Easy!!
I love decorative balls but I don’t like the cost of them – they can be ridiculously expensive.
So, a few weeks ago I decided to try to make my own balls and they actually turned out pretty darn good, and at a fraction of what they cost in the stores.
Today I am sharing with you a step by step guide on how to make your very own decorative balls.
let’s get started – these are super simple to make but do get a bit messy.
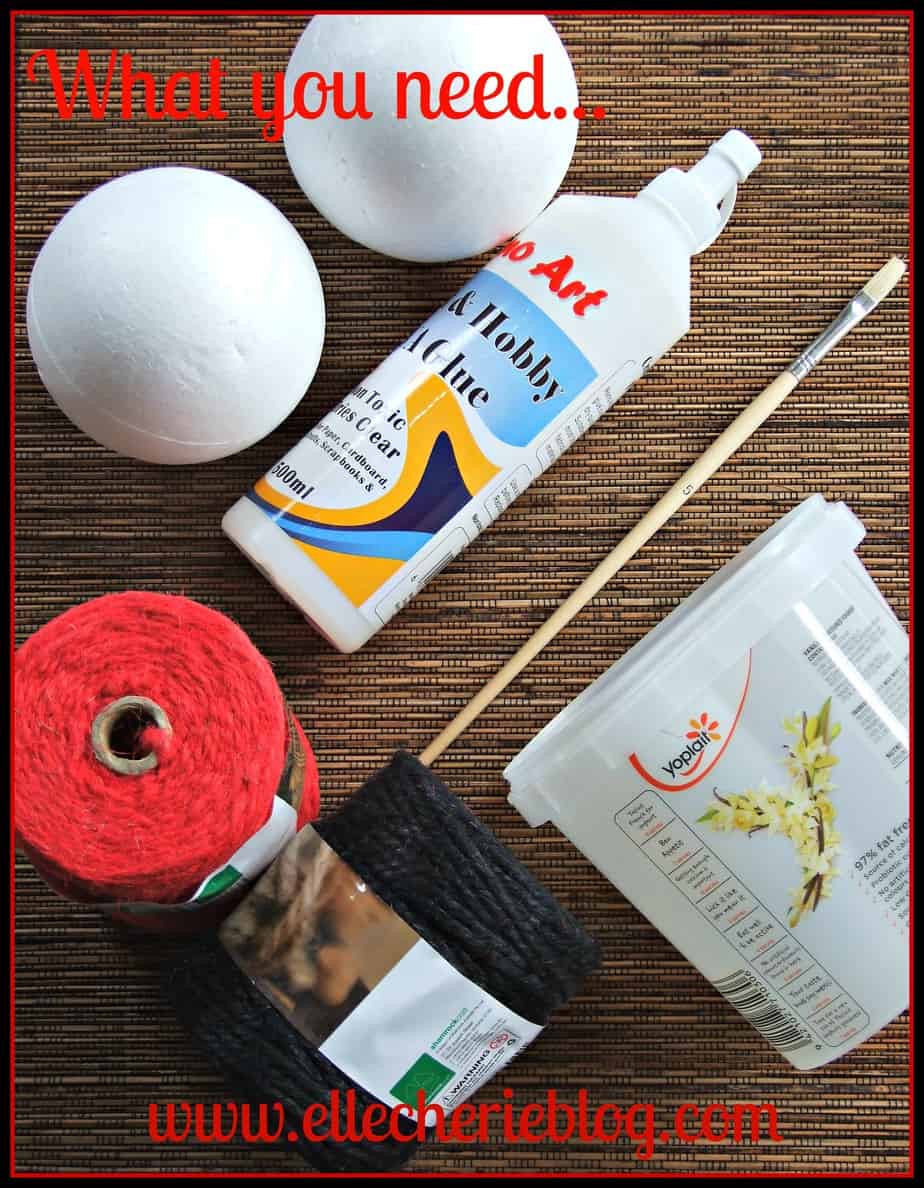
What you need:
- 4 or more [amazon_textlink asin=’B06XR9LD6W’ text=’polystyrene balls’ template=’ProductLink’ store=’ellecherie-20′ marketplace=’US’ link_id=’c70dc1fc-b79f-11e7-8a4f-2545a0dd43c8′] – you can get these from Amazon (see link) most craft shops and the cheap $1,2,3 stores.
- 1/2 cup of[amazon_textlink asin=’B0025U109S’ text=’ PVA glue’ template=’ProductLink’ store=’ellecherie-20′ marketplace=’US’ link_id=’c7dcf36a-8b2f-11e8-9379-358afa7f9952′] – preferably non-toxic and one that dries clear.
- Paintbrush.
- You can either use [amazon_textlink asin=’B00JXY1JY0′ text=’twine’ template=’ProductLink’ store=’ellecherie-20′ marketplace=’US’ link_id=’d48a5810-8b2f-11e8-af30-adb099a02dc5′],[amazon_textlink asin=’B078J3K9HG’ text=’ jute cord’ template=’ProductLink’ store=’ellecherie-20′ marketplace=’US’ link_id=’e7da309d-8b2f-11e8-9e63-d9407e75c547′] (this is what I have used) or even a thick wool.
- 1/3 cup of water – to mix into the glue.
- Scissors.
- Old plastic container for the glue and water mix.
- Plastic wrap for the balls to dry on.

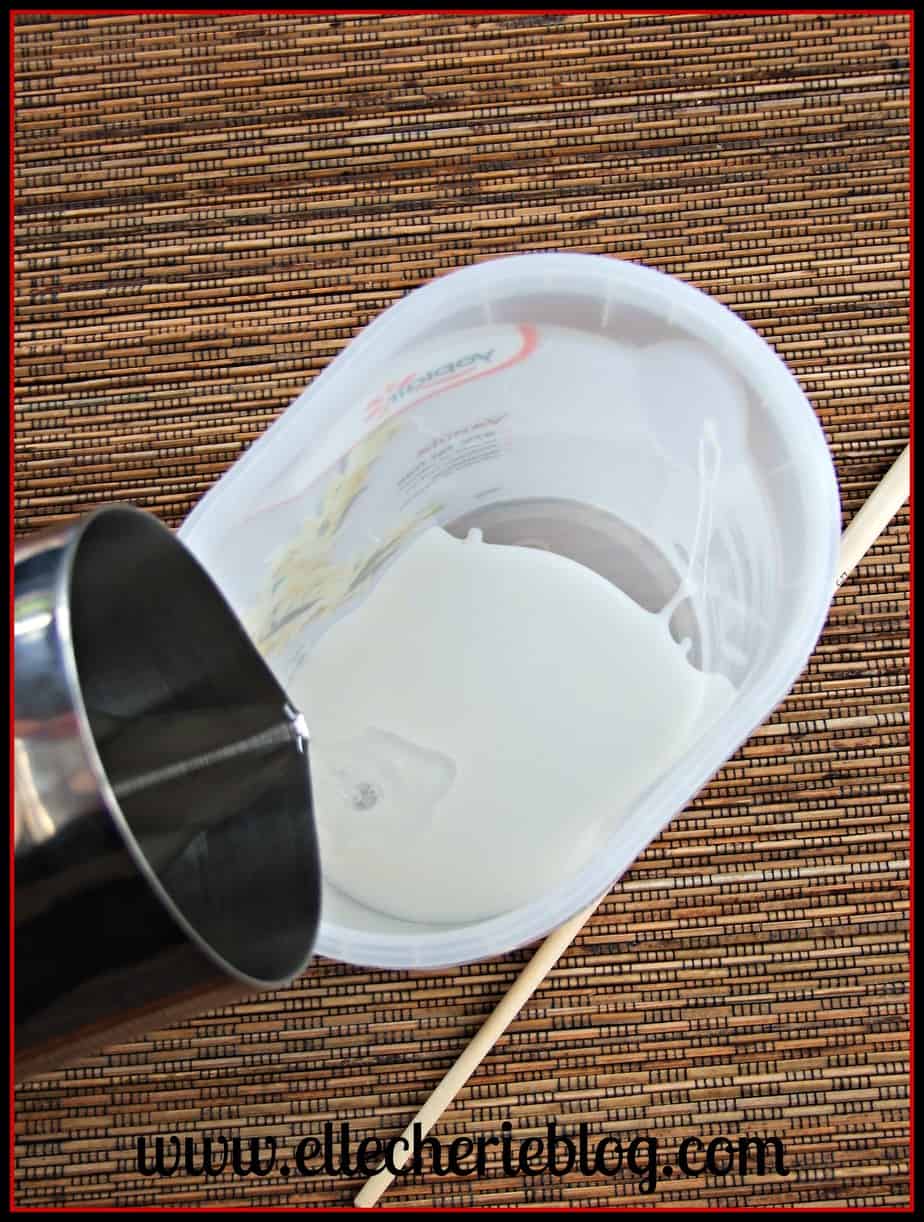
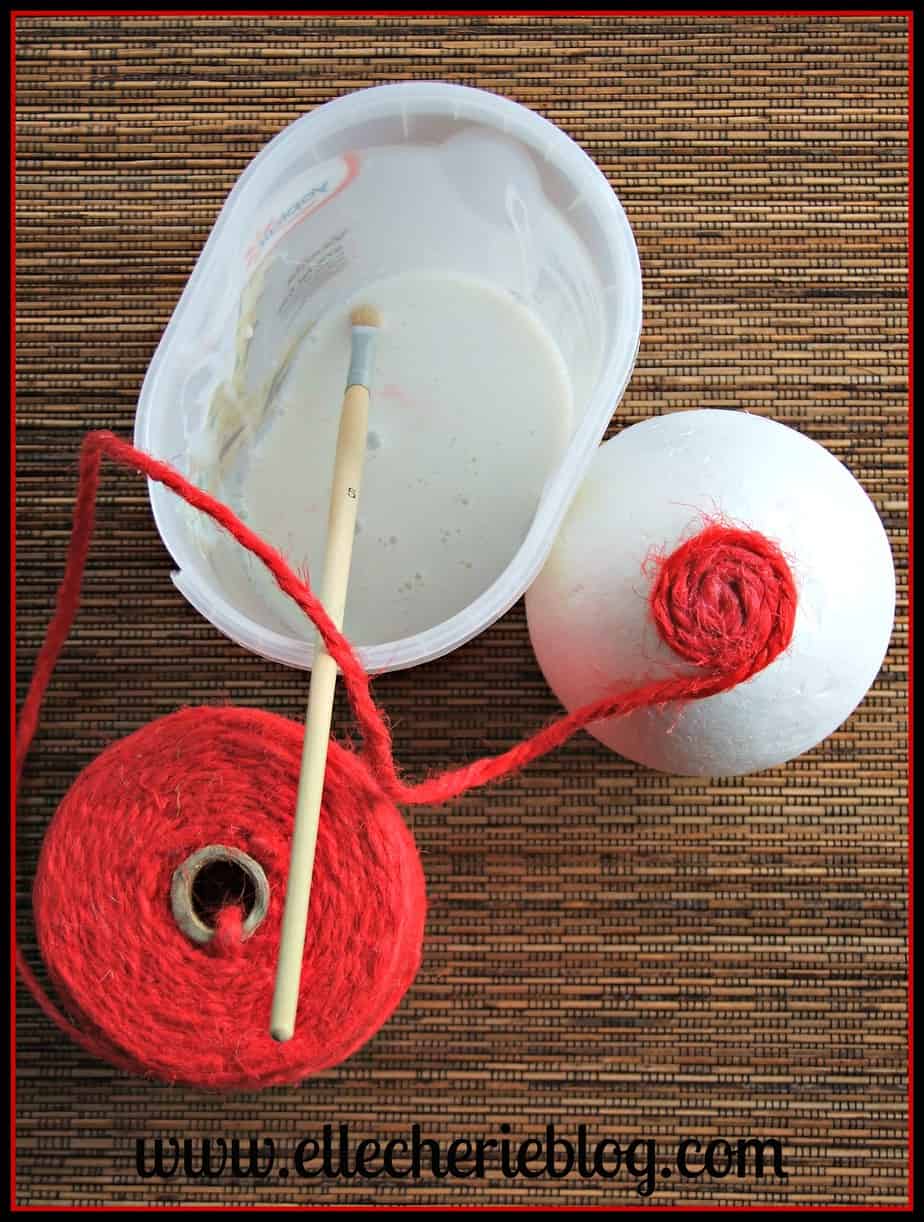
Step 1 – Pour about 1/2 a cup of glue into the container and mix in about 1/3 cup of water to make a runnier paste (almost what you would use for paper mache).
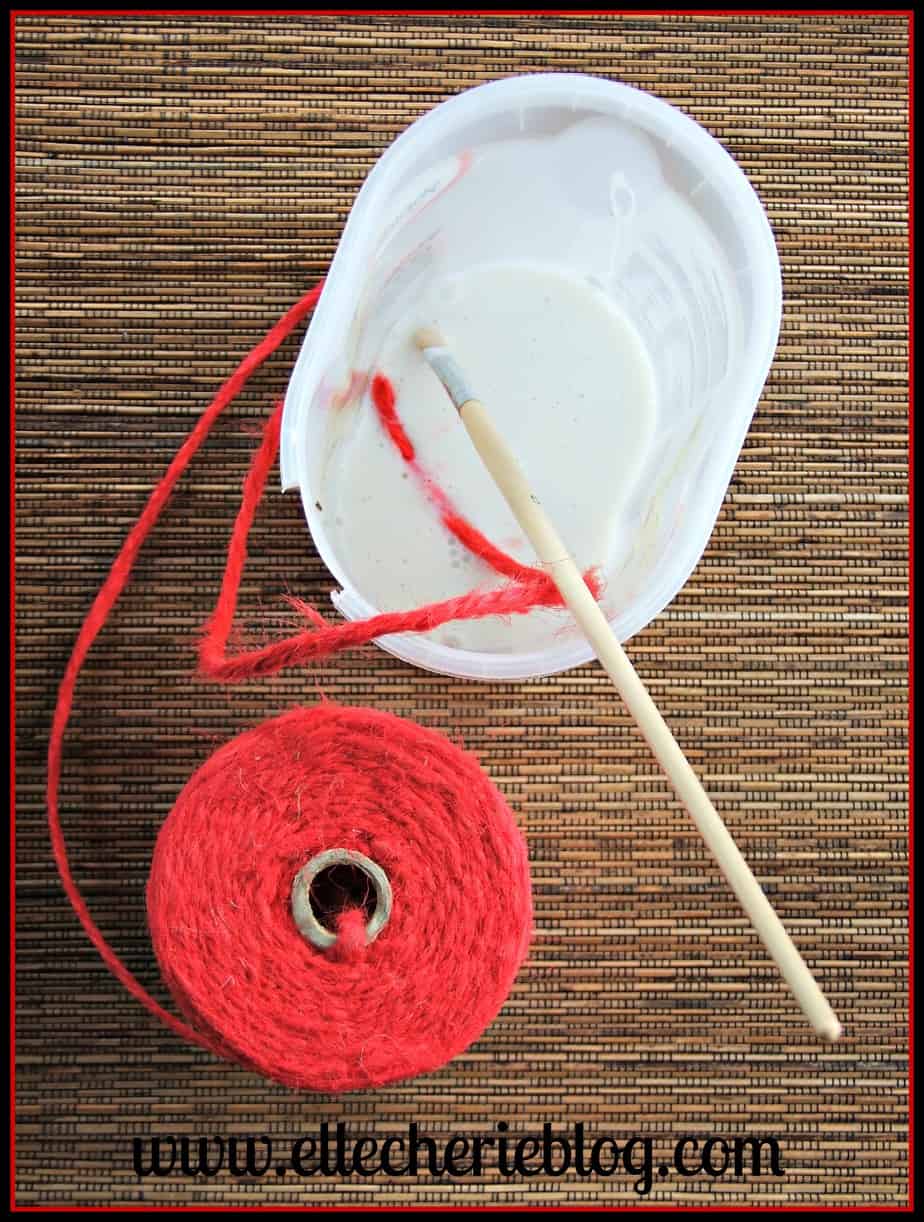
Step 2 – Put your twine, jute cord etc. into the glue and then start wrapping it around the polystyrene ball. I started with the tight small end first (as below right image) and then made my way around the ball. I find the more glue mix you have on your cord or twine the better.
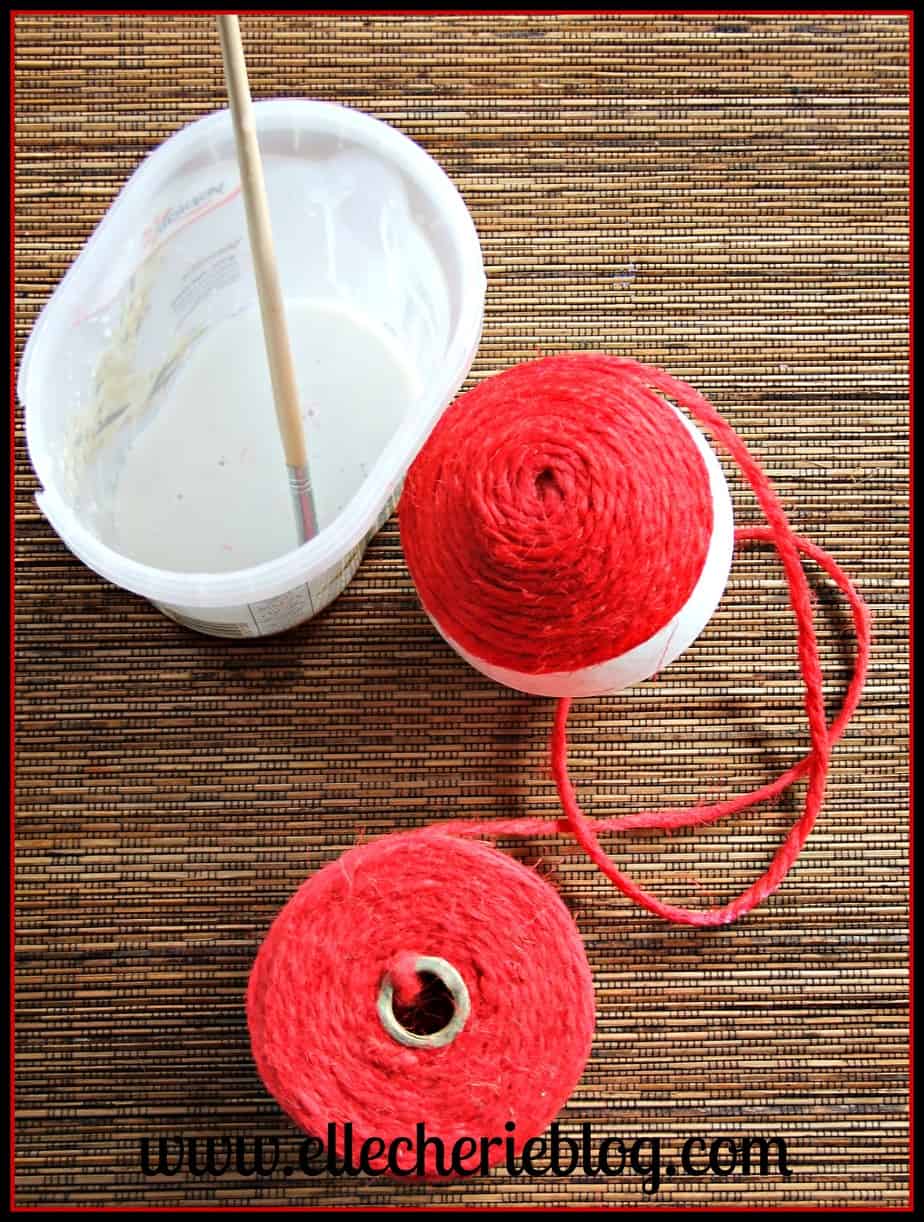
Step 3 – keep wrapping the cord/twine right around until the ball is completely covered. This is the messy part, you may want to wash your hands every so often so the glue doesn’t get stuck to your fingers resulting in you pulling up other parts of the cord or twine.

Step 4 – leave to dry, this may take a few hours if not overnight.
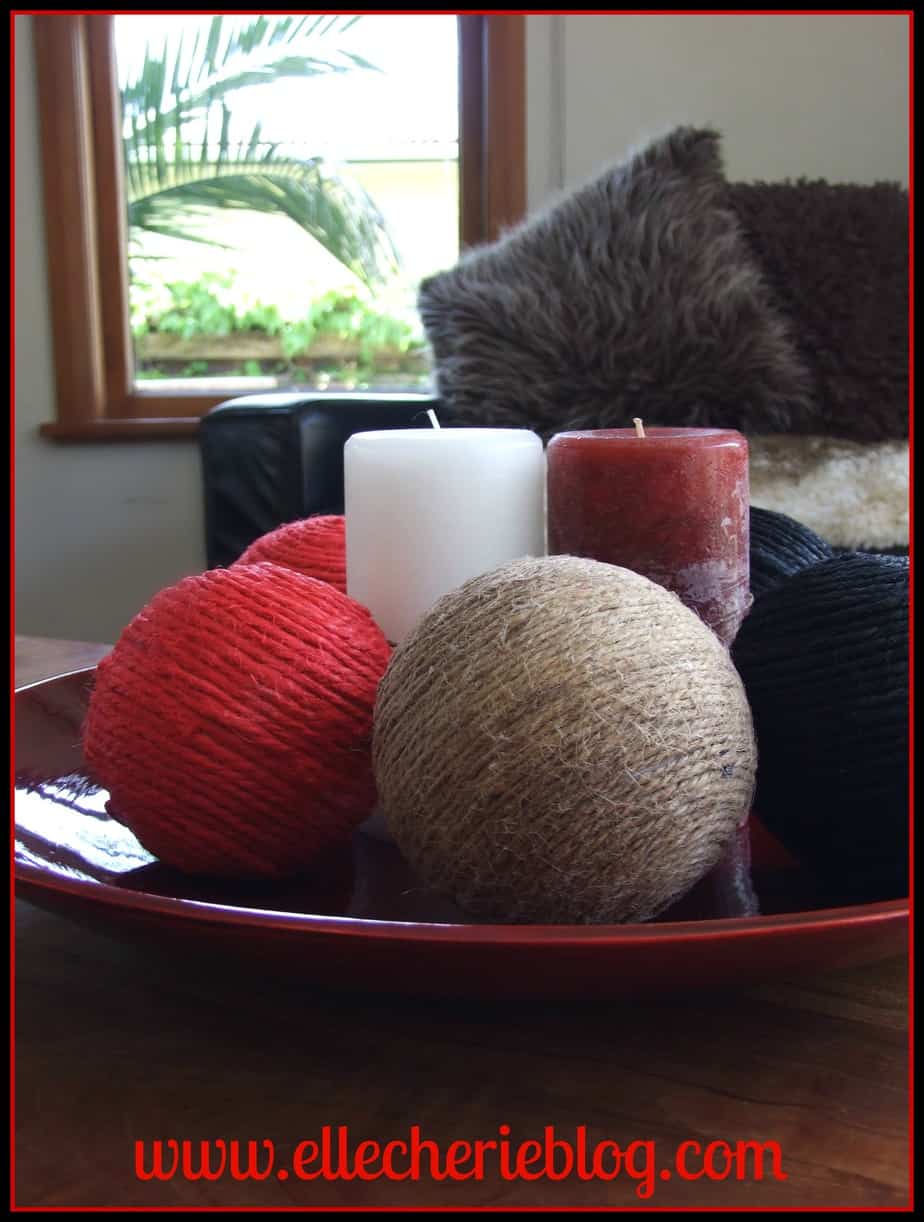
Step 5 – Once dry you can place them on your favorite plate, bowl or vase. These are super simple to make (a tad messy but simple) and can make a great centerpiece to a coffee table, dining table or even a hall entrance table. You can also do these in different colors to match the seasons i.e. yellows/oranges for spring or you can make them for a holiday centerpiece like Christmas or Thanksgiving. The twine ball you see in the below image is one that I made a few weeks ago!
Hope this has given you some inspiration to make your own decorative balls. Happy Crafting!
See my other DIY projects today!!
Don’t forget to save this post to your DIY board on Pinterest!


6 Comments
Alison
These are so pretty!
Elle Cherie
Thank you! I love having them in the living room – adds a nice little touch 🙂
mummy do it
These look wonderful! I love how you have paired them with matching candles on the plate too. Thanks for sharing with the #BlogFair. I have chosen this as my featured post this week! Hope you can link up again (starting tomorrow).
Elle Cherie
Oh wow thank you for choosing this one as your featured post – that’s so cool! 🙂
Sara @ Shabby Grace Blog
Why didn’t I think of this?! So SMART!
Elle Cherie
Thank you! 🙂