
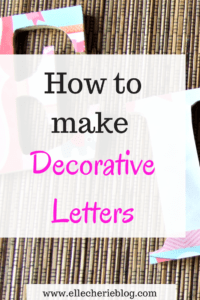
How to Decorate Letters for Kids Rooms!
How to decorate letters for kids rooms
Personalise any room with decorative letters!
All my children have their name on their bedroom door. I find this a great way for them to know it is their special room where they sleep, play, read and chill out in. I have also found it to be a great tool in teaching them how to spell their own name.
A few years ago I purchased one of my boy’s name for his door and it cost me around $40!!!! Holy cow I can’t believe I paid that when I could have made it myself for way cheaper. It wasn’t until I was browsing the craft shop earlier this year that I saw the wooden letters and all the different kinds of amazing craft paper and decided to make #3 baby’s door name myself.
So, today’s post is how to decorate letters for kid’s rooms. This is super simple and they don’t have to be just for the door, it can be for the room wall or placed in a frame to pop on a shelf.
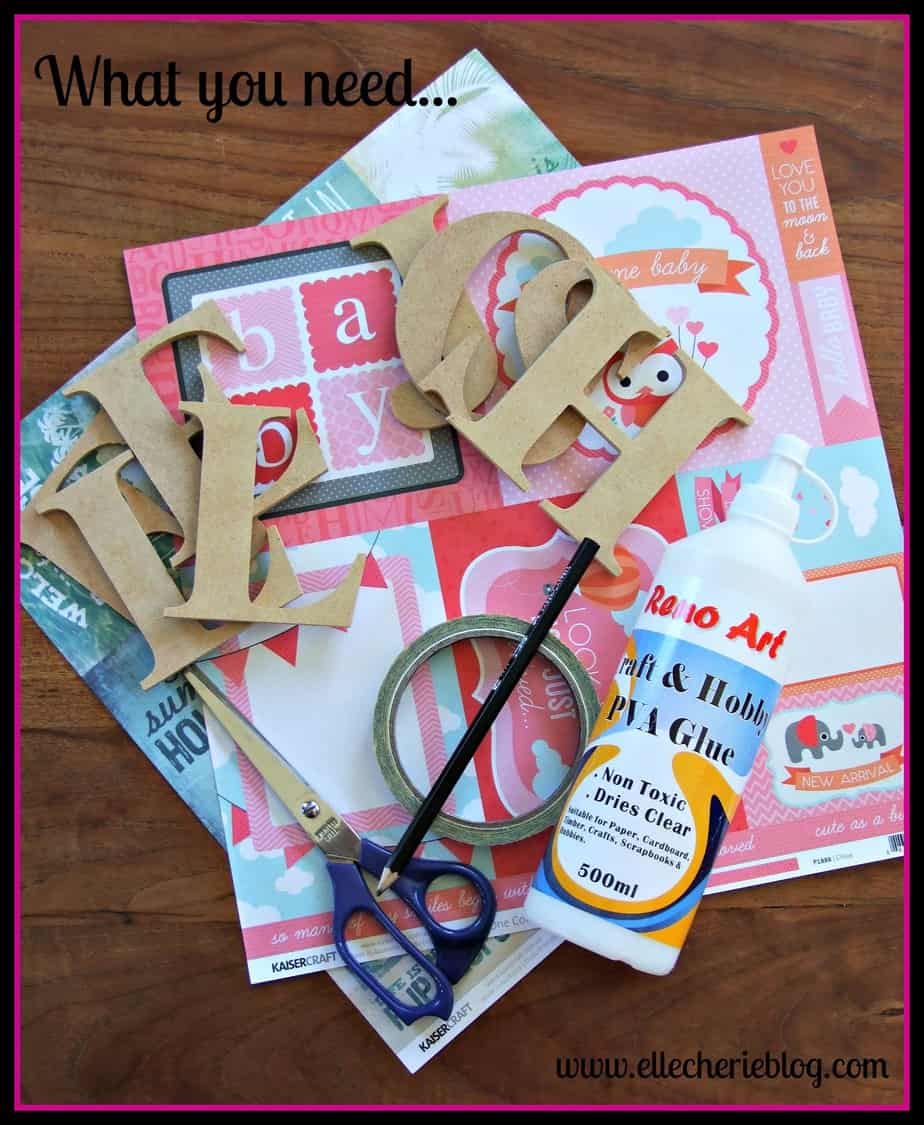
What you need:
Wooden Letters – any size you like. These are available at most craft stores. If you have the skills and tools to make these, go for it!
Scrapbooking paper of your choice – ensure you get extra in case you make a mistake.
PVA Glue – that dries clear
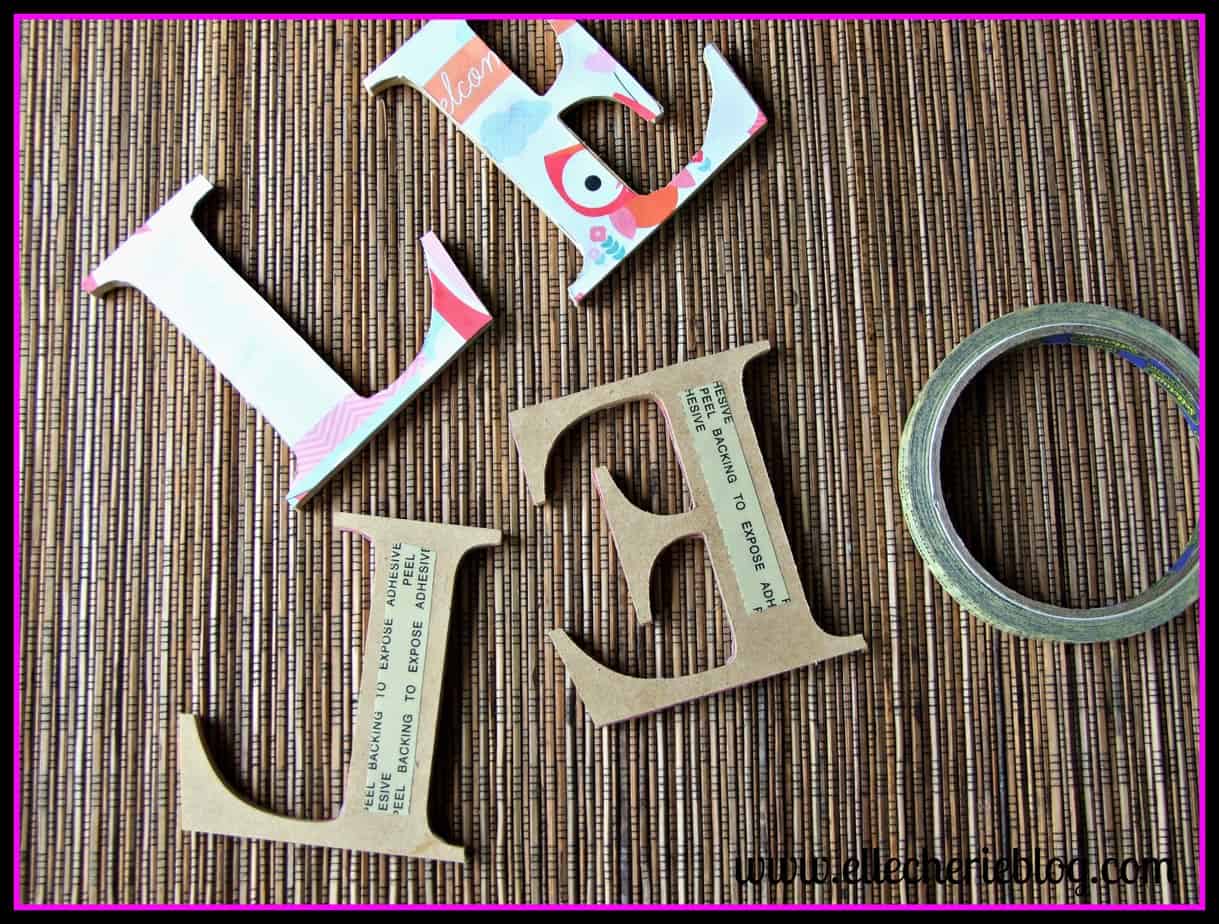
Double-sided tape
Scissors
Pencil
Step 1 – Place letters on the paper. I have placed my letters back to front on the side of the paper that I don’t want to see. This is so I can do the outline of the letter and not see any pencil marks. You can also place them closer together to save paper – I just had mine spread out to make it clearer to see.
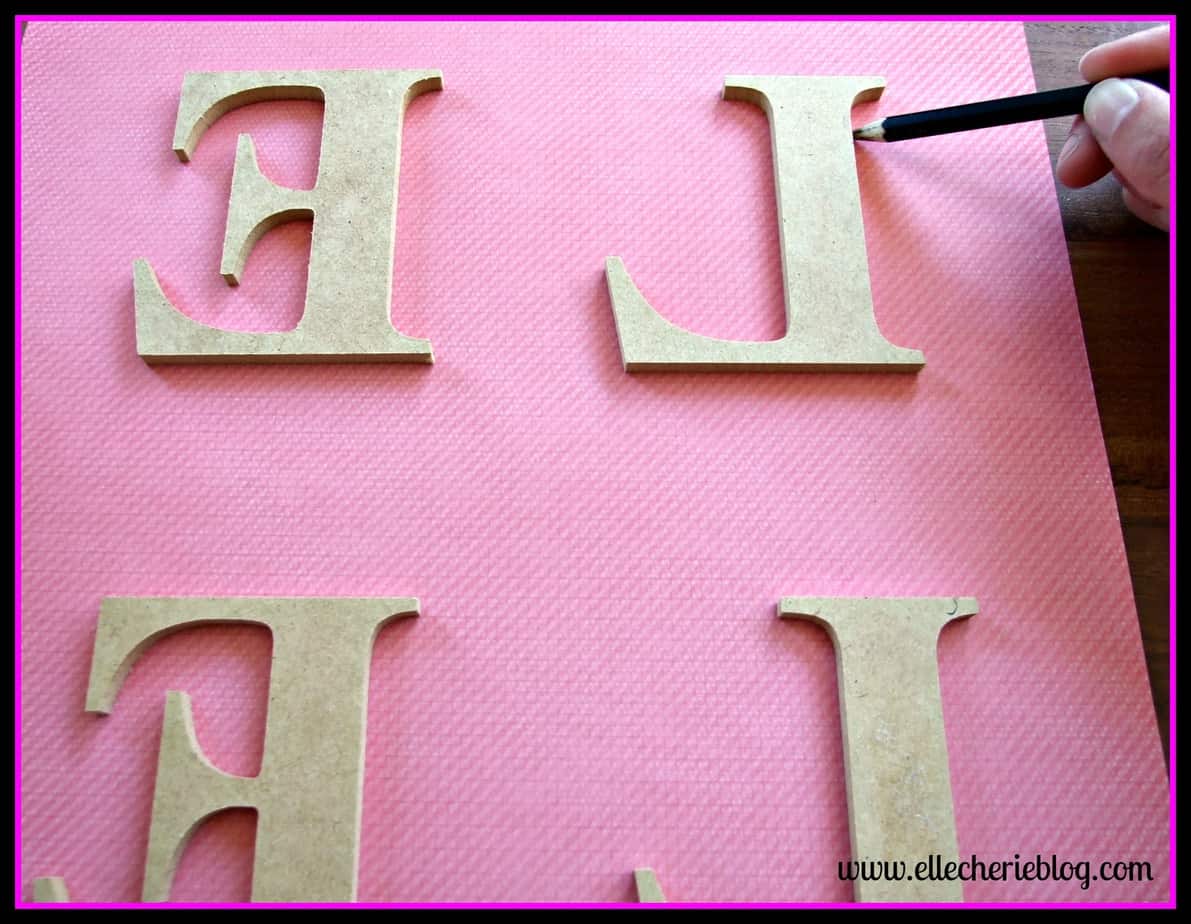
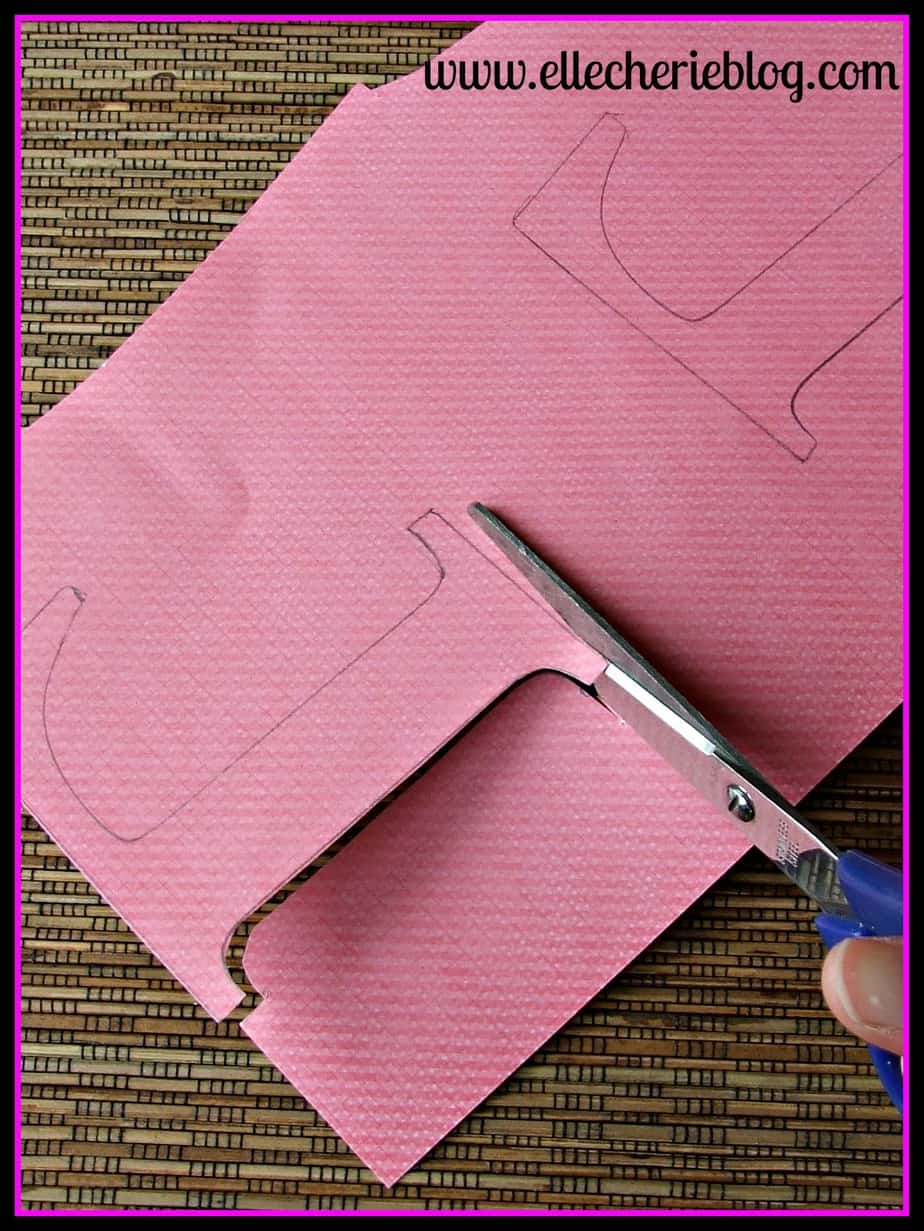
Step 2 – Draw around the letters with your pencil and then cut out.
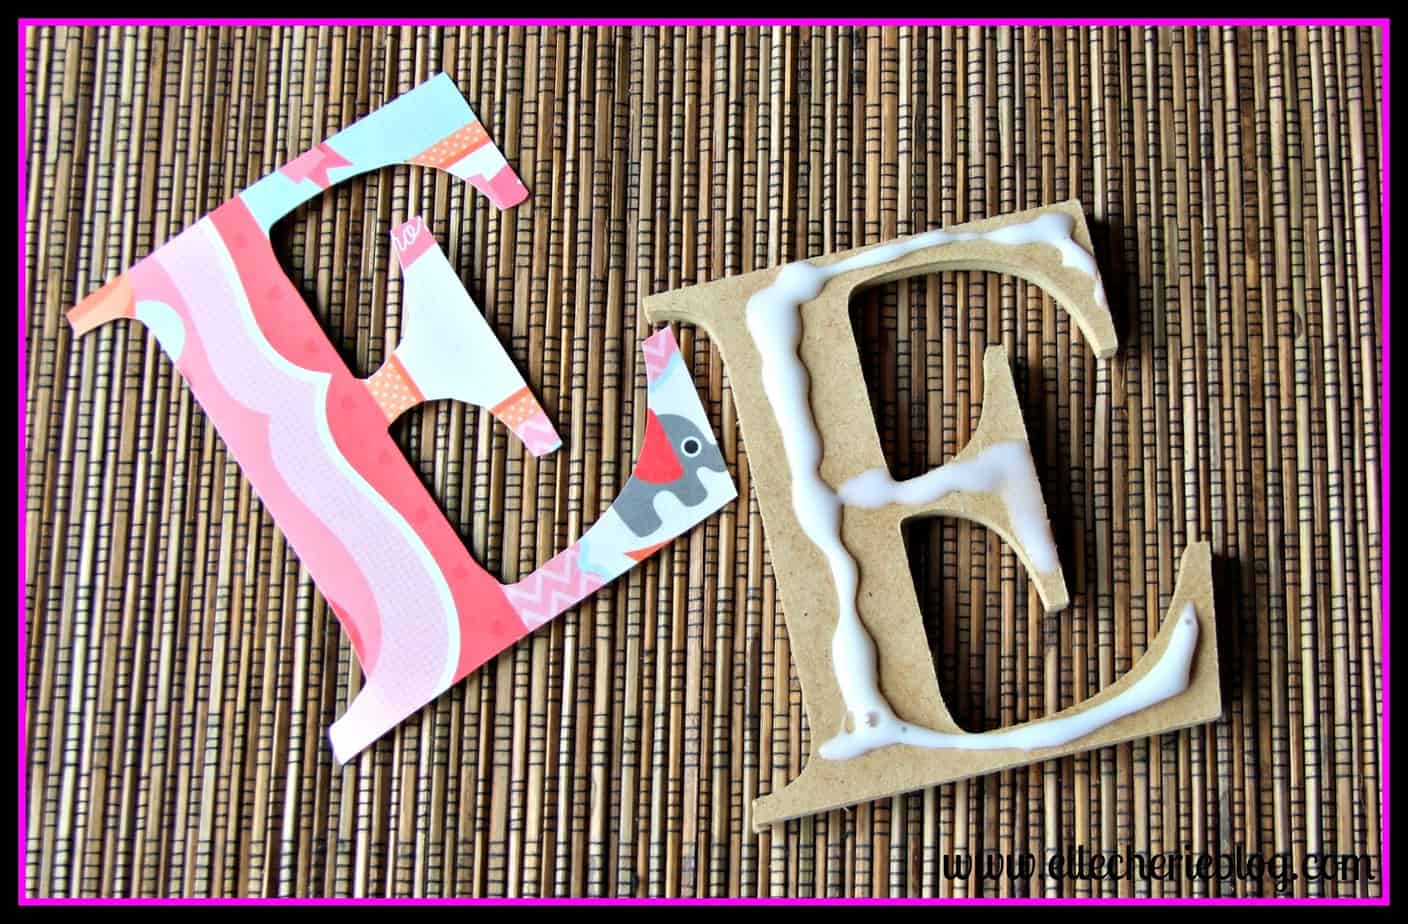
Step 3 – Glue letters onto the wooden letter. I find placing the glue on the wooden letter and then pressing the paper down on it easier. Once all glued down you will need to wait a few hours for them to dry properly if not overnight.
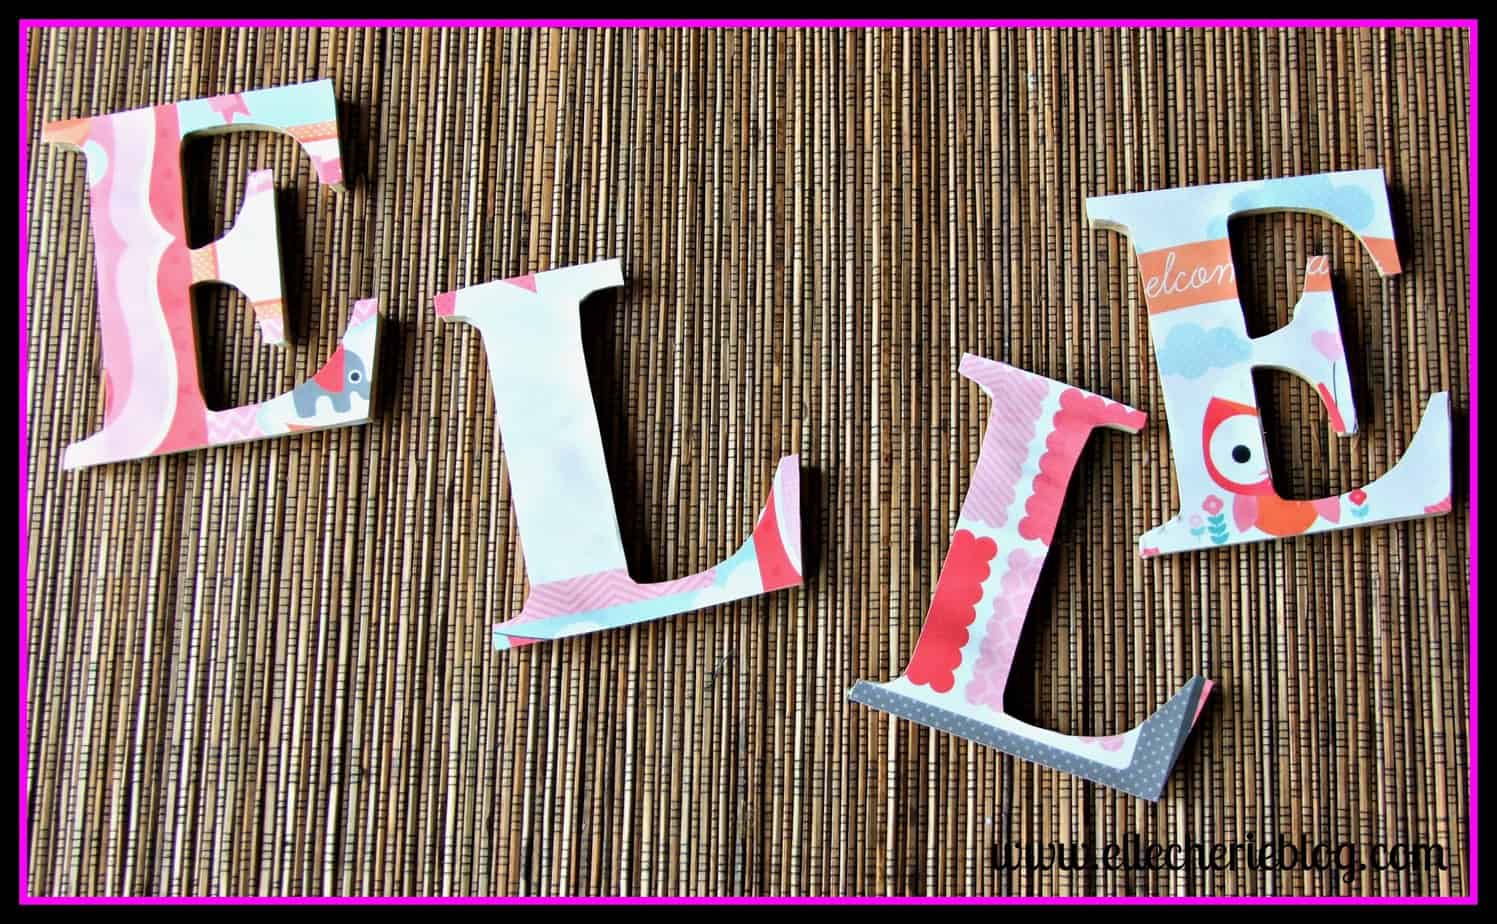
Step 4 – Once they are dry – if you have any bits where the paper is overhanging – turn the letter upside down and use a craft knife to trim the paper this will give a nice finish around the wooden letter. Then you can attach your double-sided tape to the back of the letter.
Step 5 – All ready to hang. I have also decorated one for a boy’s room.
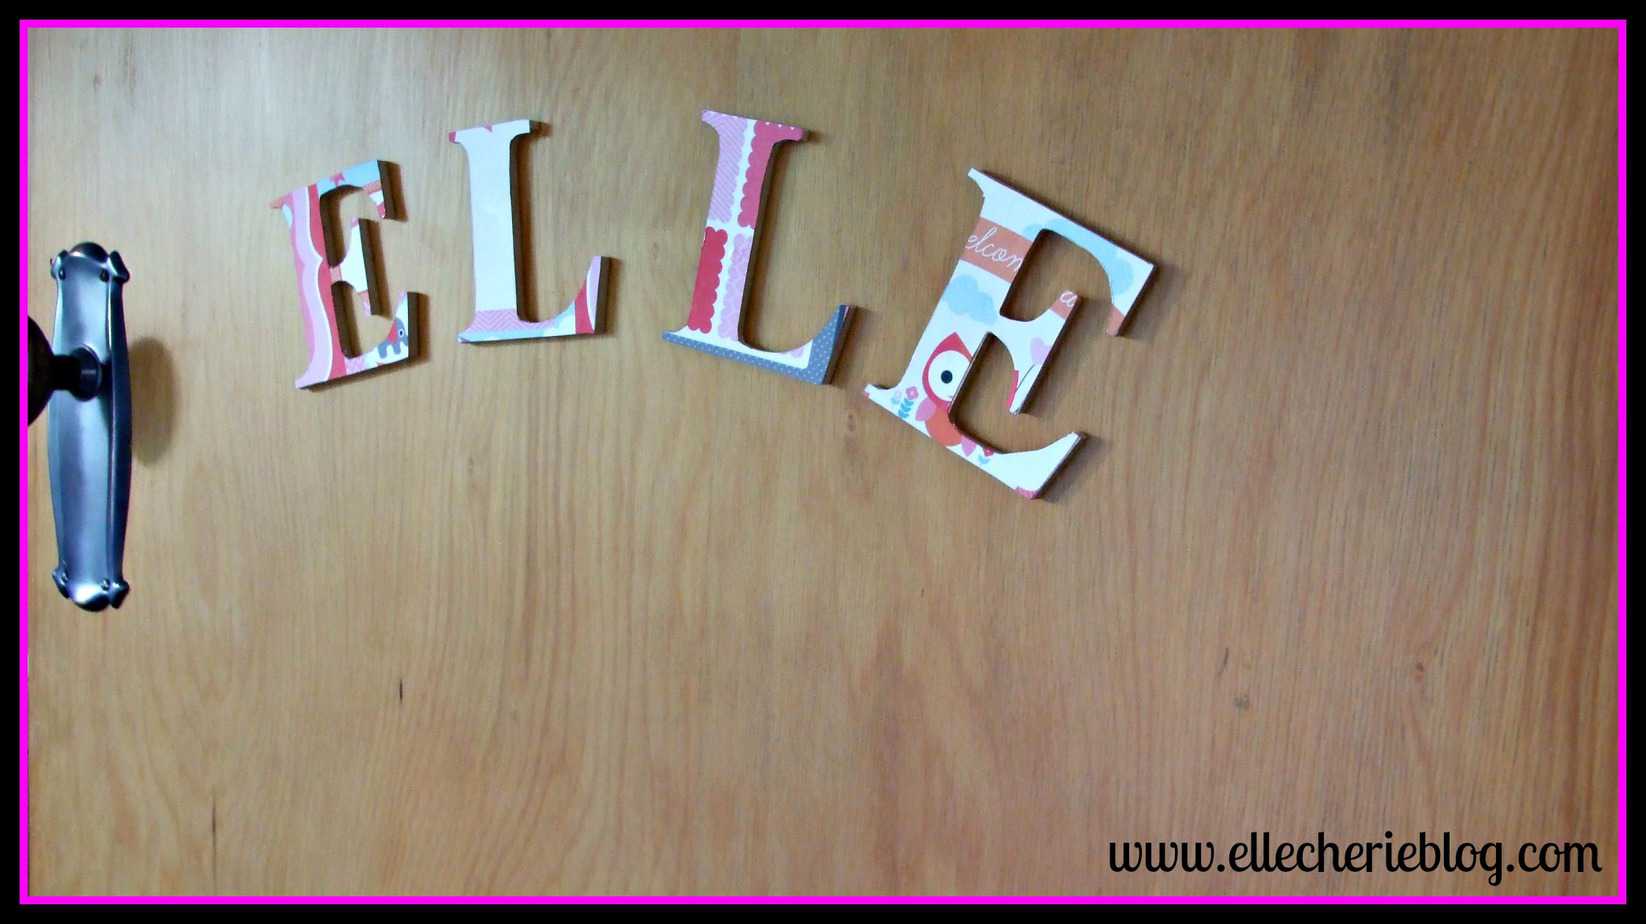
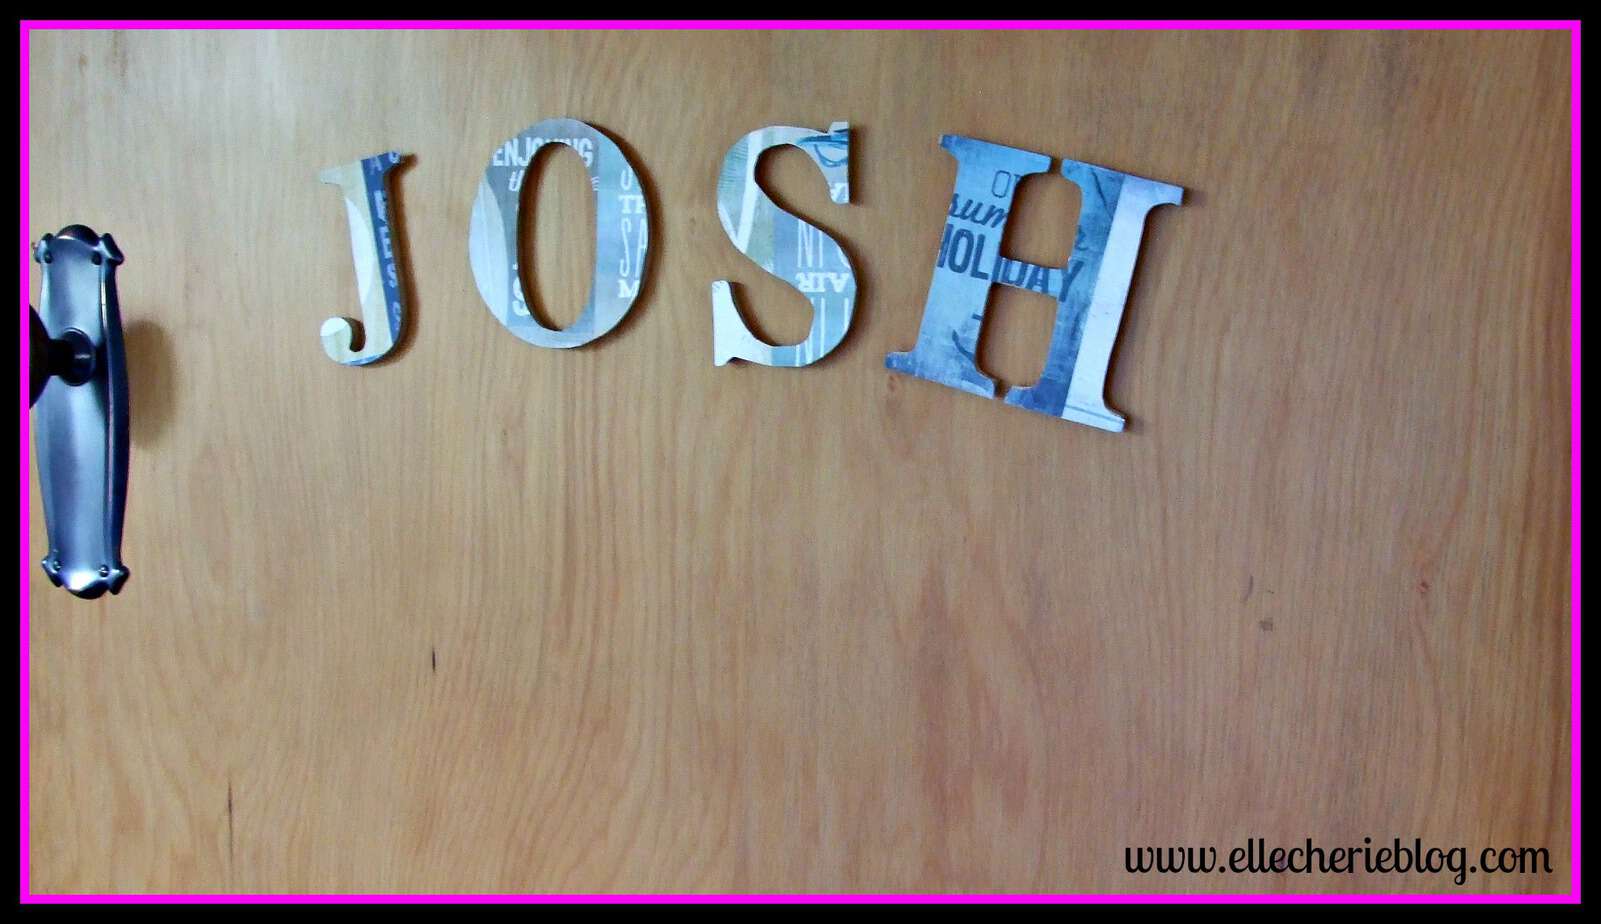
And there you have it, it’s super simple and easy to do and a great way to let your kids know which room is their special place. This can also make a neat little gift for someone – especially with Christmas fast approaching!
How did you go decorating letters?
We would love it if you showed us your designs by tagging us on our Instagram page!
Check out my other DIY items here!
Don’t forget to save this post to your DIY board on Pinterest.


10 Comments
veronica lee
Hi Stopping by from Mom Bloggers Club. Great blog!
Have a nice day!
Elle Cherie
Hi! Thanks so much for stopping by and commenting. 🙂
Elizabeth
These are really cute! I love the scrapbook paper that you used. Have you thought at all about putting a coat of Mod Podge or spray sealer so they’re safe from little hands? Just a thought 🙂
Elle Cherie
Thank you! No I hadn’t thought of that – great idea. Our ones are up quite high on the doors so the kids can’t really get to them but that is definitely something worth doing! Thanks for visiting and your comments 🙂
Stephanie Lynne
I love these! And I think it always makes things a little more meaningful when you’ve done things yourself. 🙂
Elle Cherie
Yes I totally agree I think that’s why I love doing these sort of things 🙂 Thanks for visiting 🙂
Lisa Martens
These are just adorable! What a great idea and easy enough for even a beginning crafter. Thanks for sharing.
Elle Cherie
Thank you – I love that they are easy to do and don’t take too much time. Thanks for visiting 🙂
Lauren
I have bought the letters before but never quite had a plan to decorate. I love the scrapbook paper idea. And it looks easy enough that I could actually finish the project!
Elle Cherie
Hi Lauren – Yes for sure it is quite a easy crafting project that doesn’t take too long to complete. I also love the use of scrapbook paper since there are such fabulous designed paper available that can make the letter look really effective. Thanks for visiting 🙂